
AtoVproject lx-euclid - User Manual
Overview
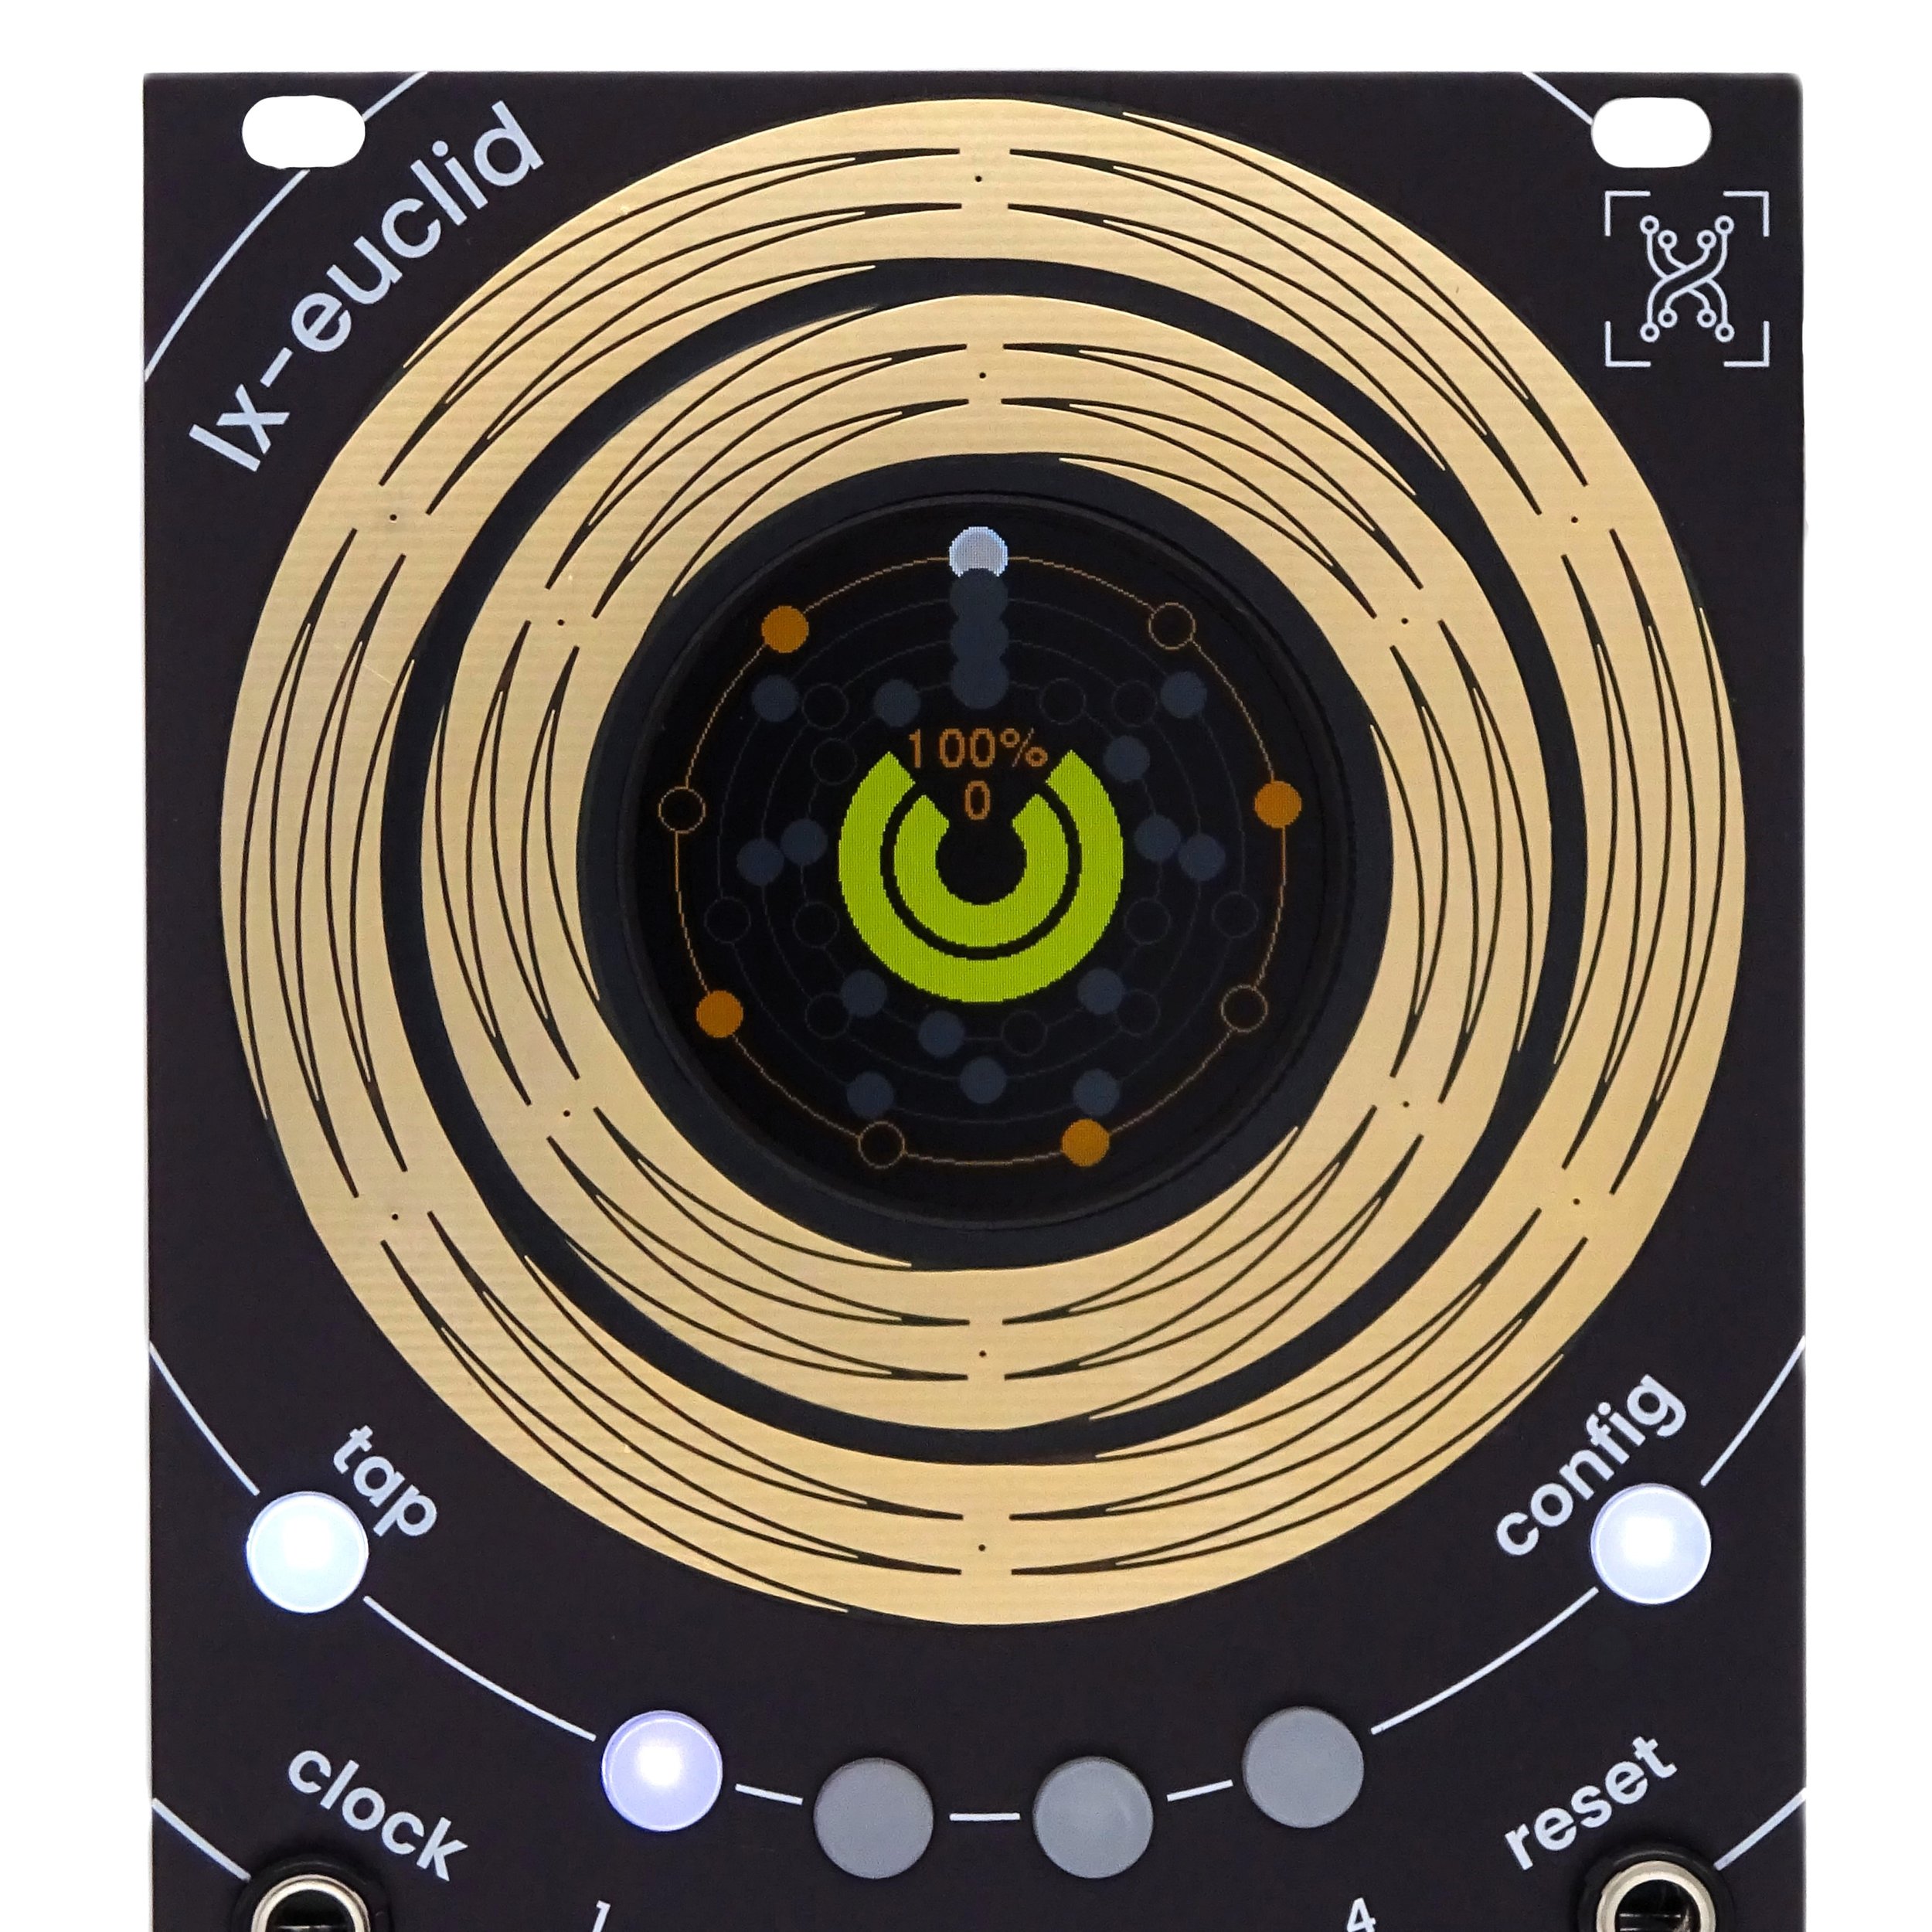
The lx-euclid is the result of a collaboration between Lucas Bonvin and AtoVproject. It is a 4 channel trigger sequencer based around Euclidean rhythms with a great focus on playability and fast editing. This was achieved by utilising an unusual interface based on two touch rings and a circular display. Allowing for both fast editing as well as performance controls (Mute, fill, resets etc…).
Along with normal rhythms the lx-euclid can also generate burst of triggers. In the lx-euclid, when a burst is triggered, the current rhythm plays at a multiplied clock rate. The burst continues until both the multiplied rhythm and the original rhythm align on the same step.
The lx-euclid features 4 assignable CV inputs for external modulation. The lx-euclid also features a probability setting for each channel, giving more variations. The input range is -5V to +5V.
The lx-euclid has 8 preset slots to save and recall your rhythms.
The lx-euclid was also a ground of study what more could be done using the Euclidean algorithms. That lead to exploring what could be achieved by altering the linearity of the distribution of the beat. This resulted to the inclusion of these modified algorithms.
Linear Euclidean
Exponential Euclidean
The beats will tend to accumulate around the beginning of the rhythm
Inverse Exponential
The beats will tend to accumulate around the end of the rhythm
Mirrored exponential
Half the rhythm is Exponential Euclidean, the other half is Inverse Exponential
The voltage of the gate outputs goes from 0 to 10V, and the gate length is adjustable and randomizable.
The module automatically saves the current state and will recall it the next time you power on your system.
Powering the lx-euclid
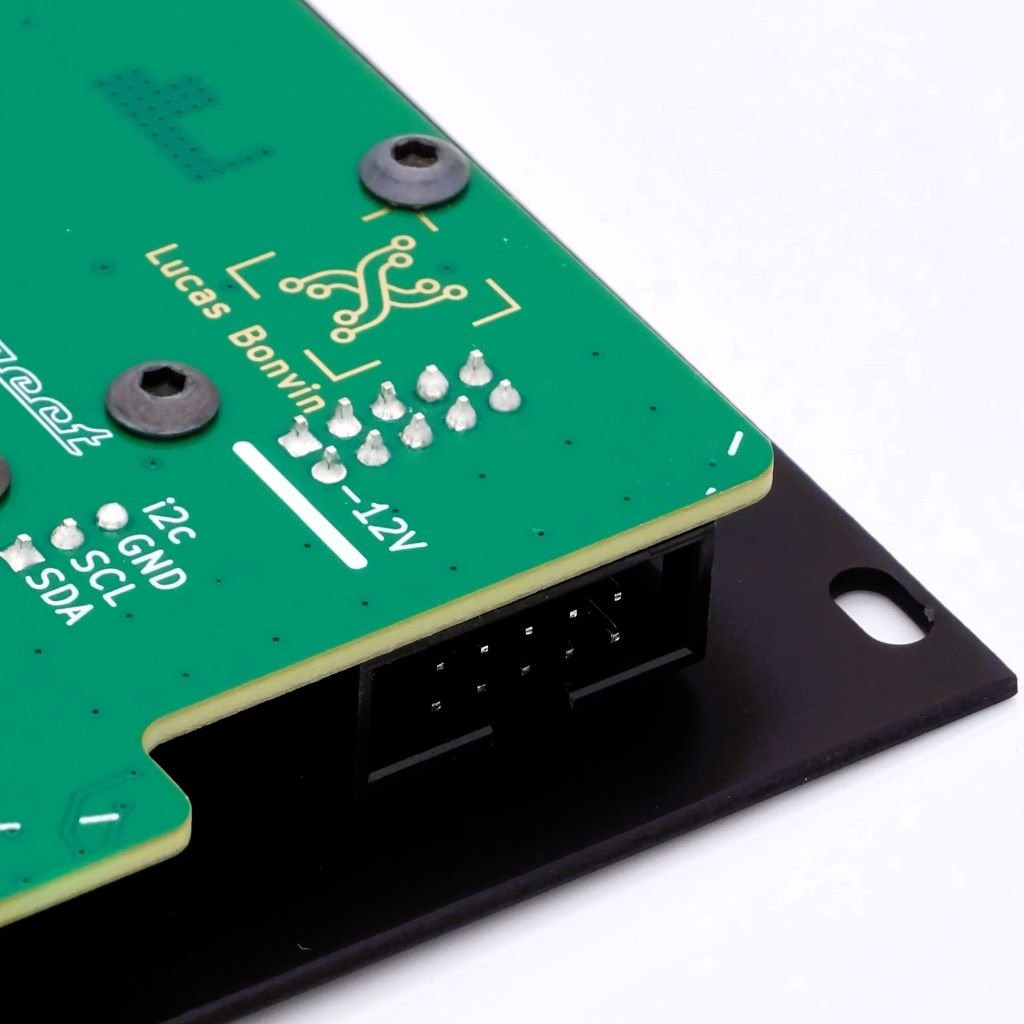
The lx-euclid is powered using an Eurorack power supply and runs on +/-12V. The power connector is shrouded, and the power lines are diode-protected.
Connect the provided 10 to 16-pin ribbon power cable from your Eurorack bus board to the module. In the eventuality that you are not using the provided cable, always make sure that the -12V aligns with the red line on the cable.
Here is a 30 minutes video about how to plug your Eurorack module correctly.
The lx-euclid consumes 120 mA at 12V and 7 mA at -12V.
Important!
While booting the lx-euclid performs a calibration routine of its touch sensor, it is therefore important to not touch the rings when powering up the unit.
Interface

1 & 2 - Inner ring & Outer ring
The rings can be tapped and scrolled. Remember using the original iPod? You will feel right at home! If not, try touching the surface and moving your finger around the circle.
3 - Tap button
When the module clock source is set as internal, this button allows to set the tempo by tapping the tempo on the button.
This button can also be used to reset to manually reset all the channels. Press and hold the button and on release the rhythms will all reset. When preset recall mode is set to internal reset this action also recalls the currently armed preset.
4 - Channel selection buttons
These buttons allow entering the channel edit page. From left to right these button allow editing channel 1 (Yellow), 2 (Red), 3 (Blue) and 4 (Turquoise) respectively.
5 - Config button
Pressing this button allows to either enter the channel configuration page while editing a channel or the configuration option of the module itself while on the main page.
Since Firmware V1.14.1 a long press on the config button gets you straight to the preset page.
A - Reset input jack
When a rising edge is detected on this input, all the rhythm will reset and the next step to be played will be the first step.
Note : If you want to do internal resets one can use one of the channels of the lx-euclid for example connecting channel 4 into the reset input. In this case you should try and play with the offset setting of the reseting channel (CH4 in our example). If there is a trigger on the first step of the reseting channel, the lx-euclid will be stuck to its first step.
B - CV input jacks
These inputs are the CV control of the module. These can be freely assigned to parameters of a channel (Reset, Length, Beats, Rotation, Probability, Fill and Mute). Note that one CV input can be assigned to multiple parameters of multiple channels.
C - Clock input
When the module clock source is set as external, every time a rising edge is detected, the channels move one step in their sequence. Note that internal clock dividers can be configured for each channel.
D - Gate outputs
These are the clock outputs of each channel. These outputs are at 0V when inactive and 10V gates when active. The length of the gate can be configured in the channel config page. The LED above each of the jack indicates the state of the output.
Edit a rhythm
After the booting routine, you will be presented with the main display showing a graphical representation of the 4 rhythms.
To edit a rhythm, press one of the 4 channel buttons. This will bring to its edit page. You can now use the rings to set the rhythm parameters. The outer ring allows you to set the length of the rhythm, and the inner ring its number of beats.
Pressing the button again leads to a second page where you will be able to set the probability of the rhythm with the outer ring and the offset with the inner ring.
Pressing the button a third time exits the rhythm edit pages and goes back to the main page. At any time, one can press the tap button to exit the rhythm edit page.

Channel edit config

Pressing the config button while in the rhythm edit pages leads you to additional parameters for the channel. With the inner ring, you can select what parameters you would like to affect.
All channel and rhythm parameters are saved in the module memory and will stay after a power-cycle.
At any time, pressing another channel button lets you configure that channel. Pressing the button of the channel you are currently working on will take you back to its rhythm edit mode. Finally, pressing the config button returns you to the previous configuration page.
CVs
Here you will be able to assign how input CV affects this channel.
In this menu, select a destination using the inner ring. Then in a second page you will be asked to choose a CV source.
Reset
Length
Beats
Rotation
Probability
Fill
If the voltage at the input is higher than 1V, the channel is in fill state (beat ON every step)
Mute
If the voltage at the input is higher than 1V, the channel is in mute state (no triggers come out of this channel)
Burst (Introduced in Firmware V1.16.0)
If the voltage at the input is higher than 1V, burst will be triggered. The rhythm will remain in burst mode until the CV goes under 1V
In the lx-euclid, when a burst is triggered, the current rhythm plays at a multiplied clock rate. The burst continues until both the multiplied rhythm and the original rhythm align on the same step.
One can also reset the assigned CV by pressing Clear CV.
Algorithms
Linear Euclidean
This is your standard Euclidean rhythm algorithm
Exponential Euclidean
The beats will tend to accumulate at the beginning of the rhythm
Inverse Exponential
The beats will tend to accumulate at the end of the rhythm
Symmetric Euclidean
Half the rhythm is Exponential Euclidean, the other half is Inverse Exponential
Clock divider
Here you will be able to apply a subdivision of the clock to this channel.
The divider options are :
1 (no division)
/2
/3
/4
/6
/8
/16
Notes about clock dividing :
The module is set up to move one step when receiving a pulse on its clock input. However it is quite common that clock signals actually run at higher resolution. The ALM Pam’s workout or the OXI One use by default 24ppqn clocks that you will need to divide by 6 to get to a more reasonable 16th note triggering.
Gate time
This allows you to set the length of the gate in milliseconds that will be emitted at the output of this channel every time there is a trigger.
On the top, you can also choose to randomize this gate time. With this option activated, the gate time will be randomized, with the value set as maximum.
Burst Div
Introduced in Firmware V1.16.0
In the lx-euclid, when a burst is triggered, the current rhythm plays at a multiplied clock rate. The burst continues until both the multiplied rhythm and the original rhythm align on the same step.
Here you can set the speed at witch the Burst are gonna be running.
The available multiplications are
2
3
4
6
8
Config menu
While in the main page, pressing the config button leads you to the config menu.
Here you will be greeted with a few option that you can select using the inner ring.
All configuration parameters are saved in the module memory and will stay after a power-cycle.
Presets
This is where you can load and save your rhythm.
When you enter the preset menu, you'll be able to choose one of the 8 preset slots to load a rhythm.
To save a preset, press the Config button again, then use the inner ring to select the slot where you'd like to save the current rhythm.
Since firmware version V1.14.1, pressing the config button a third time takes you to the preset recall modes:
Direct with reset
The desired preset is directly recalled upon touching the ring. The internal counters are reset, and all rhythms will start from their first step.Direct without reset
The desired preset is directly recalled upon touching the ring. The internal counters are not reset, and all rhythms remain in their current positions.On external reset
Upon touching the ring next to the desired preset, the preset is armed for recall. The preset is recalled when the lx-euclid receives a reset pulse through the reset input.On internal reset
Upon touching the ring next to the desired preset, the preset is armed for recall. The preset is recalled upon triggering an internal reset. This is done by pressing and holding the Tap button; the preset is recalled when the Tap button is released.
The following parameters are stored in each preset:
Length
Beat
Rotation
Probability
Clock divider
Gate time
Gate time randomization
Algorithm
All other settings are saved as a global state, which will be recalled when you boot up your system, ensuring you don't lose your work
Macro
Here you will be able to edit the function of the rings when on the main page.
First, select whether you would like to assign a macro to the Inner Ring or Outer Ring. Then, you will be able to assign this function to the corresponding ring. Finally, you can select the channel you want to affect with the macro. You can choose one or more channels.
Available functions:
None
Reset
Length
Beats
Rotation
Probability
Fill
Mute
Special cases:
Reset
Fill
Mute
Burst
the burst will be triggered the as many times as you touched the ring
These 3 macros work differently than the others. To reset a rhythm, activate the fill or mute on a certain channel, touch the ring in a specific location:
Up (Ch1)
Right (Ch2)
Down (Ch3)
Left (Ch4)
More
In this section, you will be able to modify some internal parameters of your lx-euclid, namely the clock source and touch sensitivity.
Clock source
Here, you will be able to select the clock source you would like to use.
Internal
On the main screen, use the tap button to set the tempo.
Since firmware version V1.14.1. One can set the tempo in BPM. Scrolling the internal ring allows for fine control of the BPM while the outer ring gives you a coarse control.
External
The tempo is driven by the clock input. At each pulse, the clock will advance by 1 step. This opens the possibility of using non-linear clocking for more funky beats.
Touch sensitivity
Here you will be able to set the sensitivity setting of the rings to suit your liking.
Setting is High, Mid and Low.
Firmware update
Start by checking the firmware version of your unit. The firmware version is shown on the display at start-up.
The current version is V1.0.

Procedure :
Download the latest firmware on the GitHub project page. There, you will find either the latest or pre-release firmware:
- latest: stable and official release
- pre-release: unstable and in development, contains future features
Turn off your Eurorack system and disconnect the lx-euclid from your system.
Connect the lx-euclid to a computer using a USB-C cable.
Press and hold the USB BOOT button, tap the RST button and release USB BOOT. Both buttons are located on the edge of the PCB.
The lx-euclid will appear as a storage device named : RPI-RP2.
Drag and drop the firmware file into this storage device.
The unit will automatically restart - Check the version number on the display.
Reinstall the module in your system.
Patch ideas
Sequence your sequencer!
To create progression with an algorithmic sequencer, you can control it using a slower sequencer. Here are a few methods:
One approach is to use a channel from the lx-euclid to sequence another. For example, connect the output of CH1 to CV1, using an attenuator between them for finer control. Set CV1 to control the beat count of CH2. Add a clock divider to CH1 and extend the gate length so adjacent gates merge.
Another method is to use a clock divider (my go-to is the Shakmat Time Wizard) and a mixer with attenuverters, like the MMx2. Connect time divisions to the mixer and route the output to a CV input. Matrix mixers like the MMx2 are ideal for modulating multiple CVs and parameters simultaneously. Tweak the settings until you get the magic you're after.
You can also connect a CV sequencer to a CV input, driven by a clock divider. Use one channel of the lx-euclid with a single-beat rhythm to act as a divider, or the internal clock divider for slower divisions. This allows you to sequence lx-euclid parameters and create smooth progressions. Smaller step counts (4-8) work well, but experimentation is key.
For a more unpredictable approach, replace the CV sequencer with a looping random sequencer like a Turing machine, driven by a divided clock. This setup is perfect for live performances, where the Turing machine can generate fresh progressions, acting as a creative partner.
Independent Gate/Pitch Sequencing
One of the great advantages of multichannel trigger sequencers is the ability to sequence pitch and gate of a voice independently. You can connect one channel to the gate input of a synth voice to trigger envelopes, open the VCA, and control dynamics. Then, use another channel from the lx-euclid to clock the sequencer controlling the pitch, allowing for flexible and independent control over both elements.
Locking your Euclidean Rhythms
Euclidean rhythms, with their polymetric nature, create complex and pleasing phase shifts. However, this phasing may not always align perfectly with a track's structure. A simple solution is to use a clock divider to reset the lx-euclid at the start of each phrase, giving your rhythm a defined starting point and making it more cohesive.